How to Use Collage Maker: Step-by-Step Tutorial
This walkthrough uses the Collage Maker page.
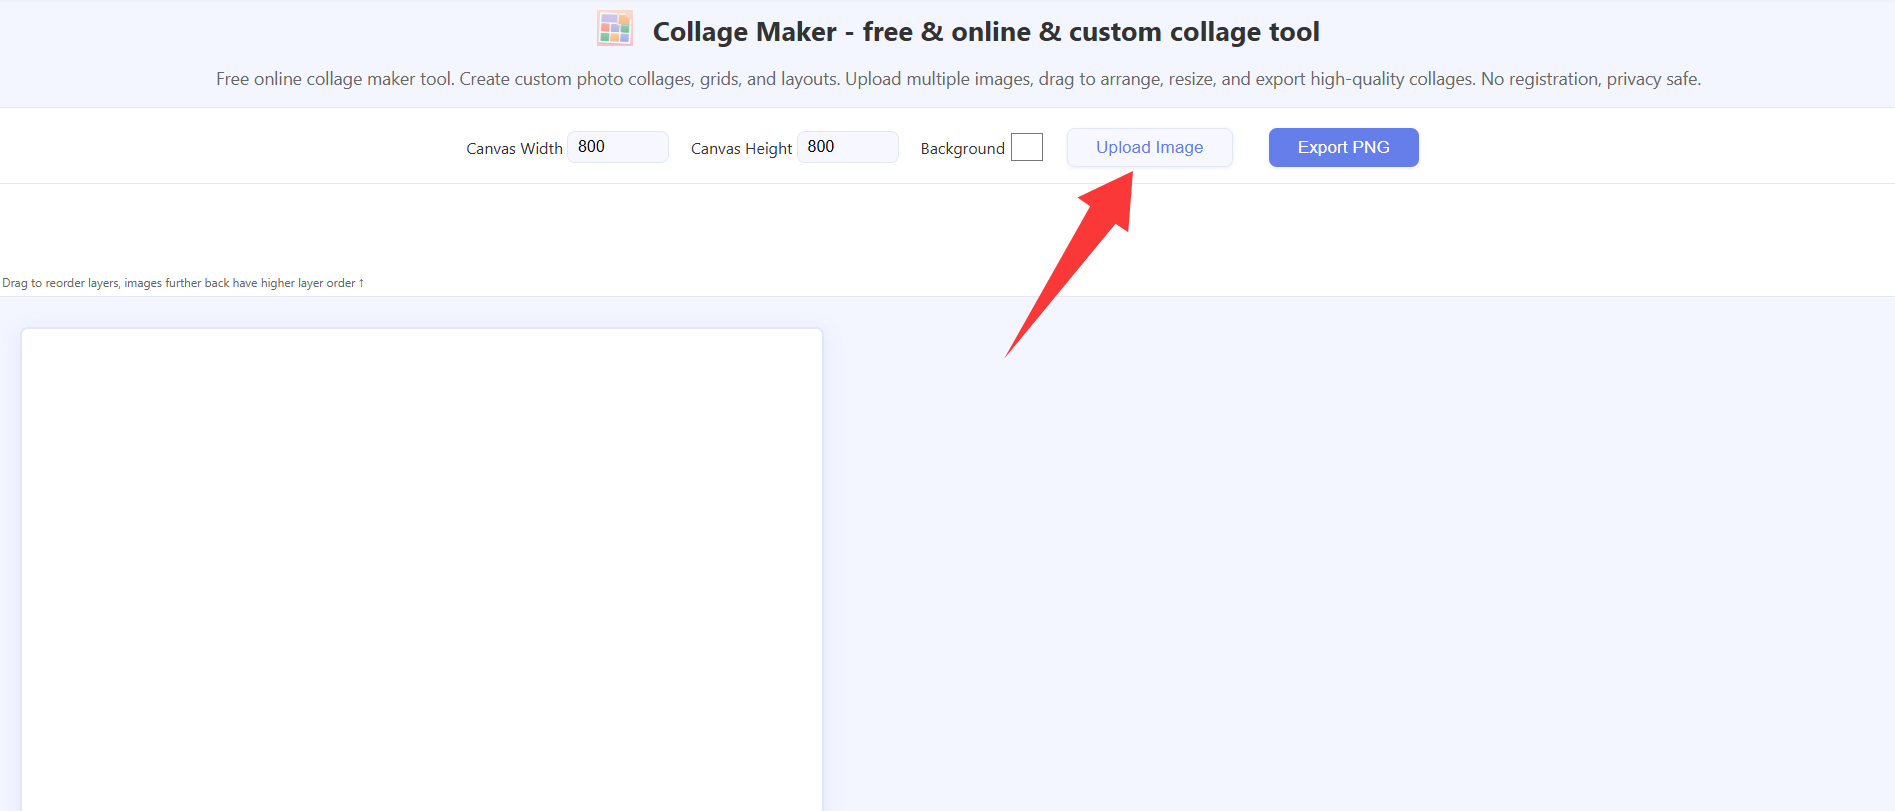
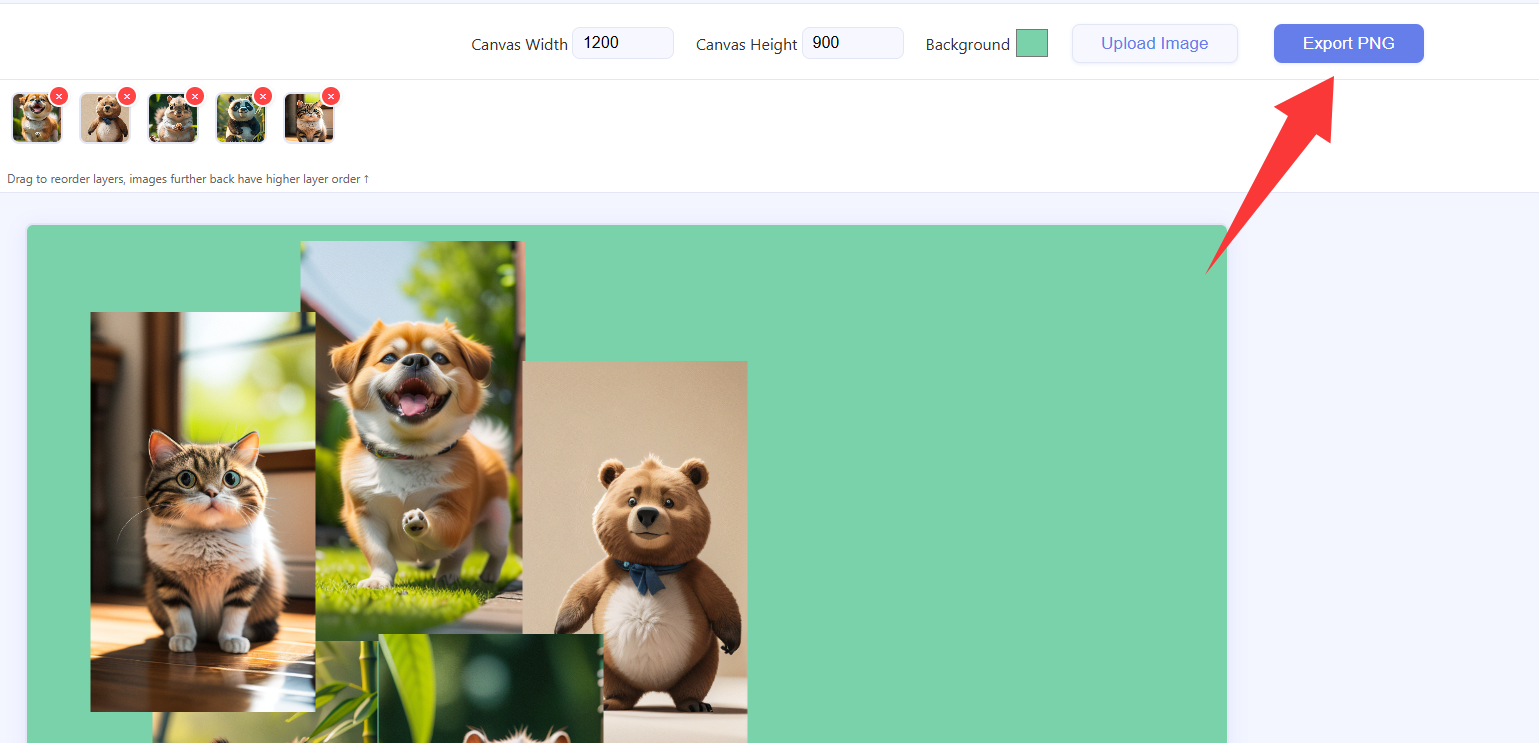
1. Canvas size, background, and toolbar
At the top, set Canvas Width and Canvas Height in pixels and pick a Background color.
Need equal cells from a preset layout? Use homepage Image Stitching with templates instead.
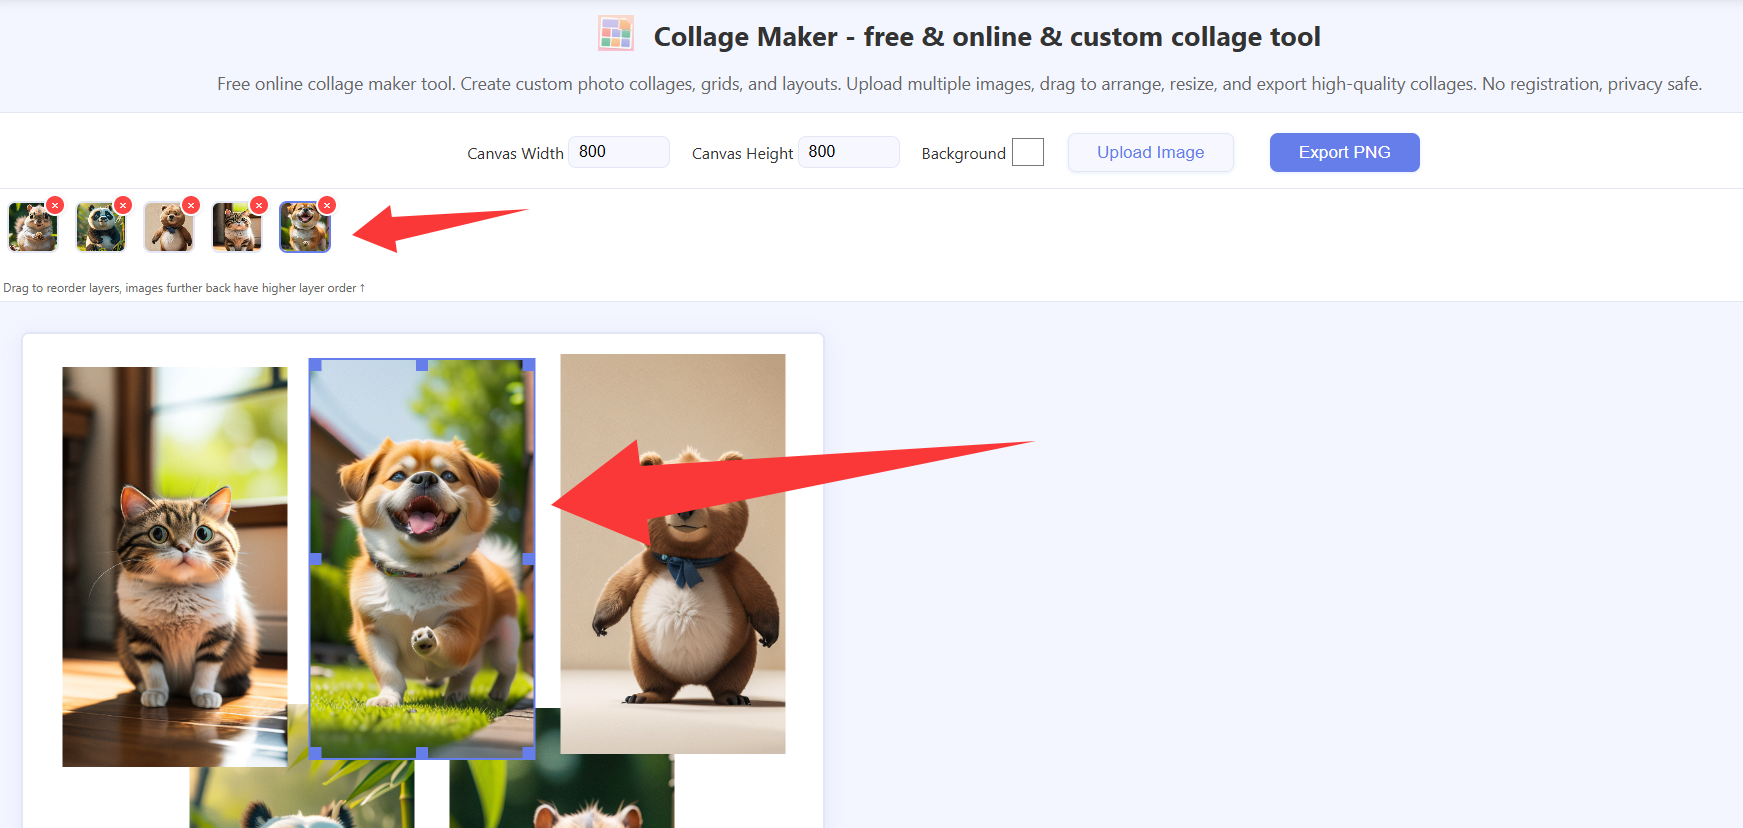
2. Upload images and layer strip
Click Upload to choose one or more images (JPG, PNG, GIF, WebP). Thumbnails appear in the strip above the canvas; drag them to change stacking order—further right draws on top.
Clicking a photo on the canvas also brings that layer to the top of the stack (same as moving its thumbnail to the right end of the strip).
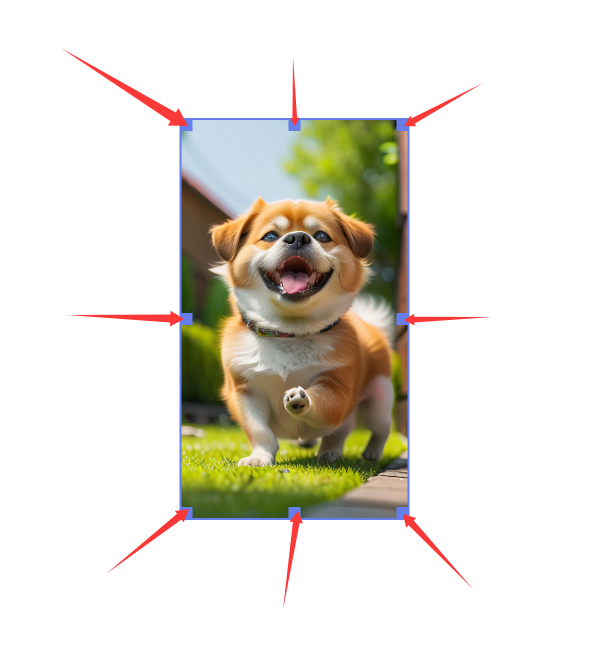
3. Select, move, and resize on the canvas
Click a photo on the canvas to select it.
To crop sources first, open Crop Image in another tab.
4. Build your composition
Overlap images and resize until the layout matches your goal.

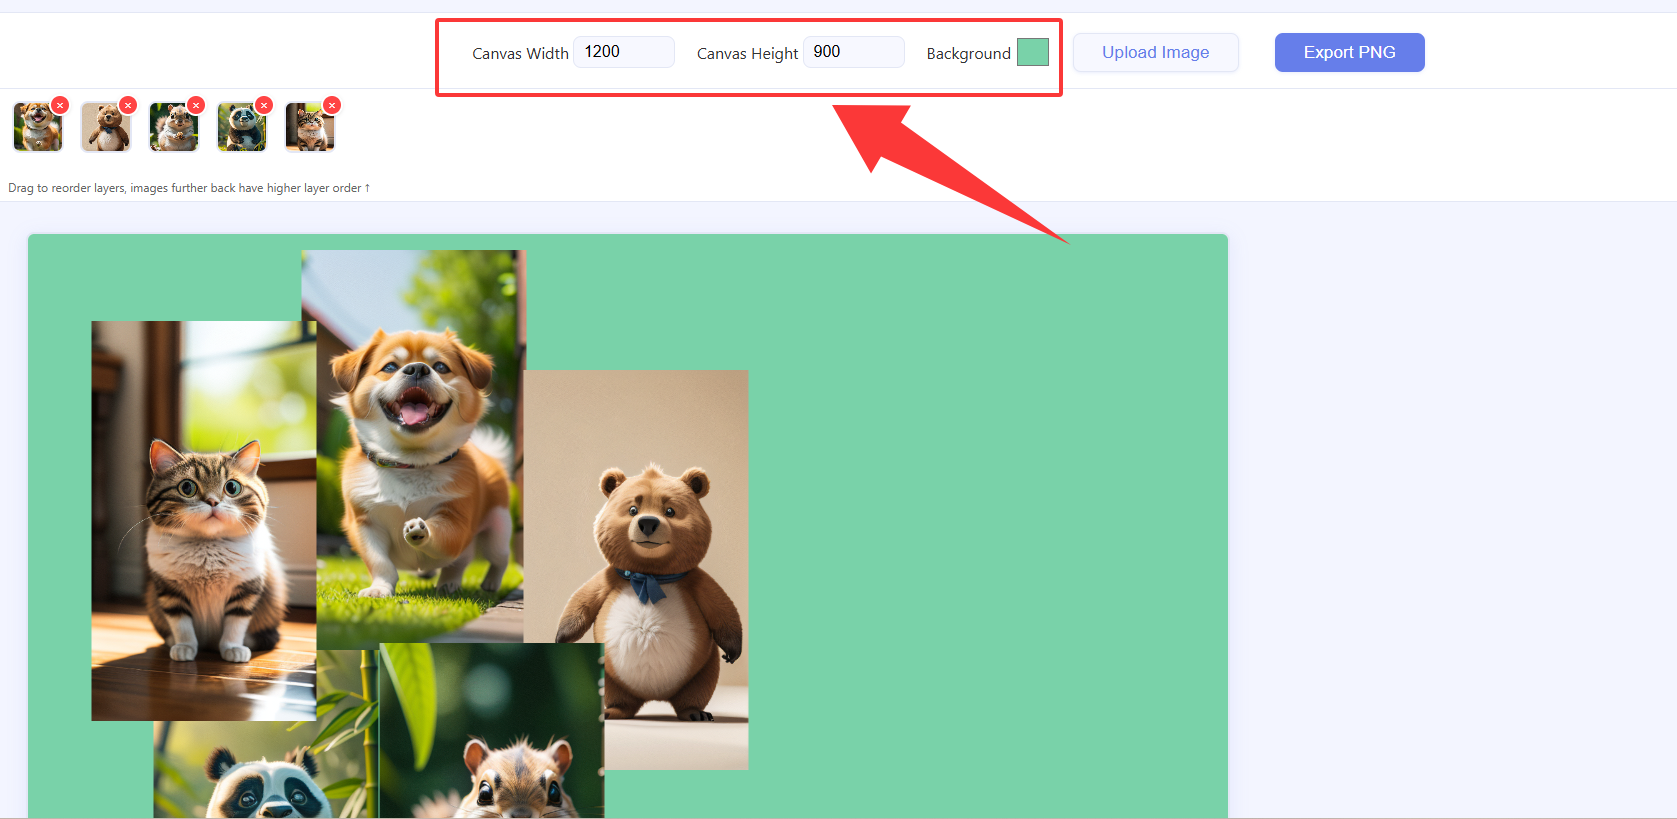
5. Image size on the canvas and canvas background
After you select an image, drag the handles to change its displayed width and height (see step 3). The Background color in the toolbar fills the canvas behind all layers and empty areas, including through transparent PNG pixels—the same control as in step 1.
6. Export PNG
Click Export PNG to download.
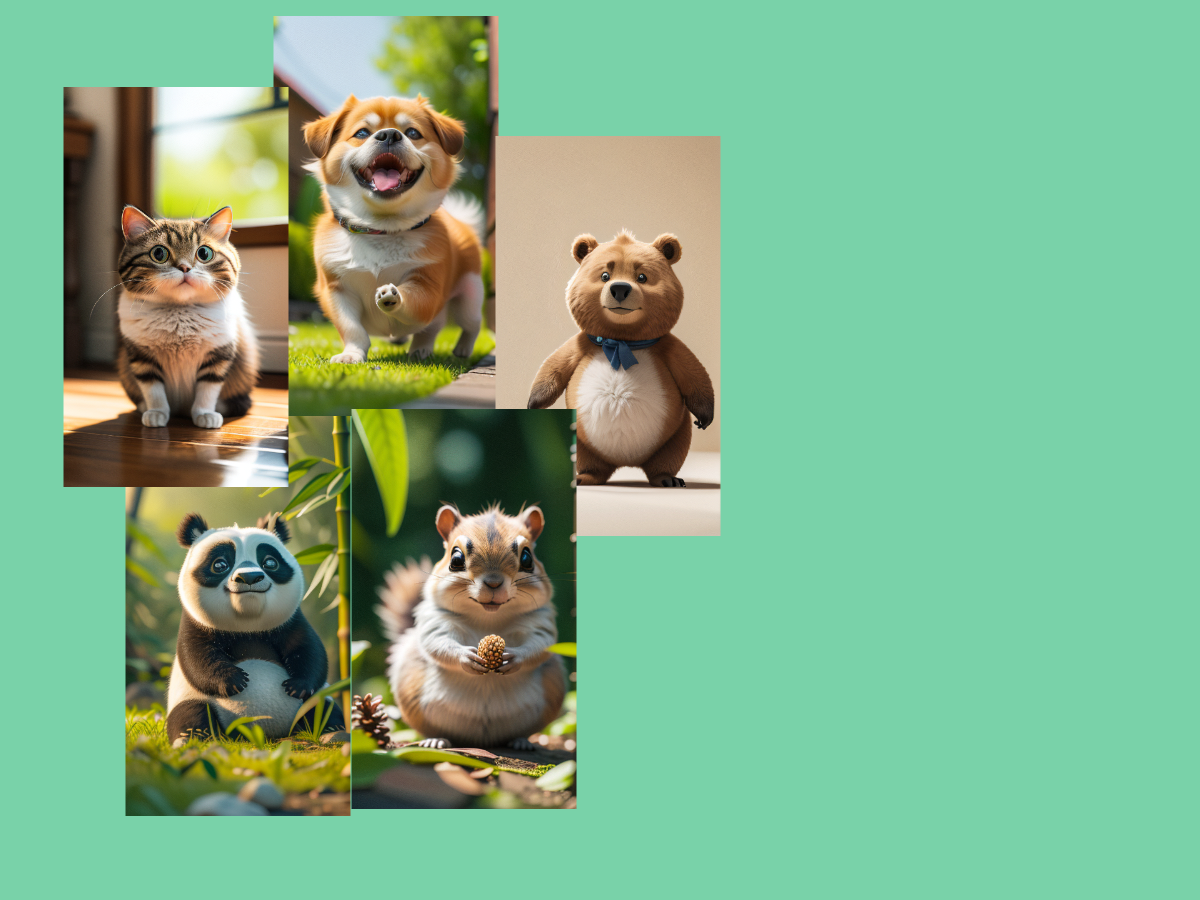
7. Example exported collage
The downloaded file is one flat PNG.
Open Collage Maker